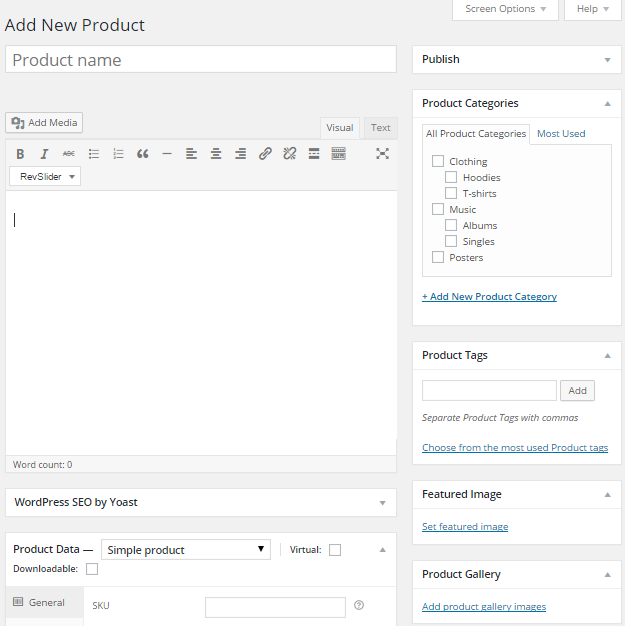
1. Create Your Products
Step 1 Click on the Dashboard >> Products >> Add Product. Input a name for your product at the top of the page.
Step 2 Insert the product description text into the post content area, all the product information will be shown here.
Step 3 To insert all the product details such as price, SKU, shipping and more, you need to adjust in the “Product Data” box.
Step 4 The “Product Short Description” box will show the brief next to your featured product images.
Step 5 Always set your “Featured Image” from the right sidebar. This step must be done for every product.
Step 6 For the gallery of images, insert more images in the “Product Gallery” box.
Step 7 If you want to group your products according to the categories & tags, just enter your categories in the “Product Categories” box and your Enter your tags in the “Product Tags” box.
Step 8 Once done, just click on “Publish”.
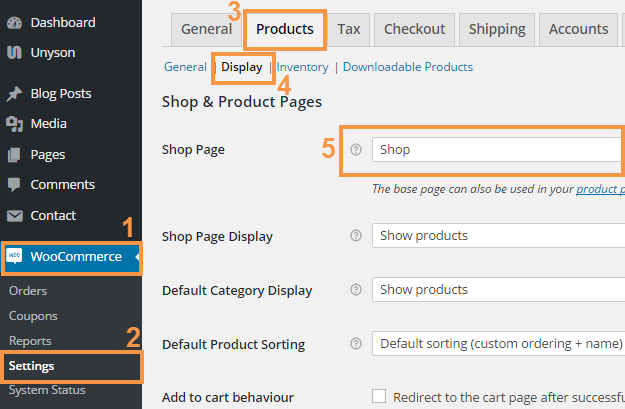
2. Set shop/my account / checkout pages
Step 1 Navigate to Dashboard >> WooCommerce >> Settings on your admin sidebar.
Step 2 Click on the Products tab at the top of the page. Directly below those options, switch to the Display tab.
Step 3 Select the page you would like to be the default page.
Reagarding the Checkout page, just go to Checkout tab, the choose the page you want to be the checkout page.
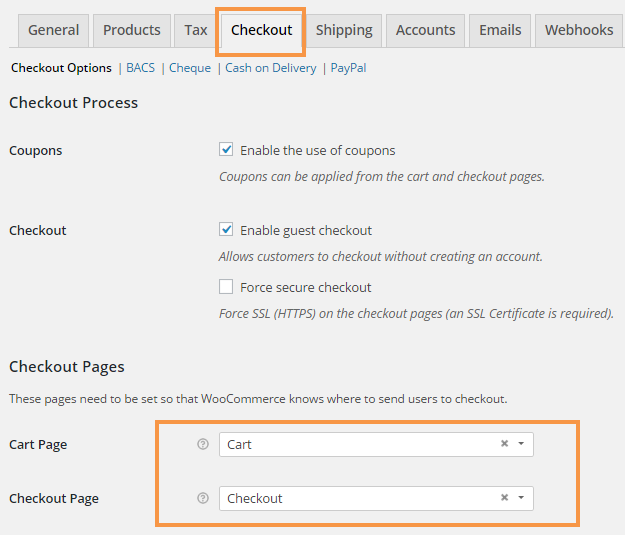
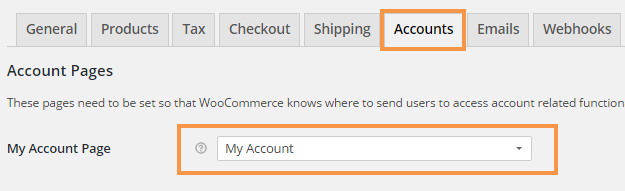
In case that you would like to show the account page, click on “Accounts” tab to configure.
The WooCommerce documentation can be found here.
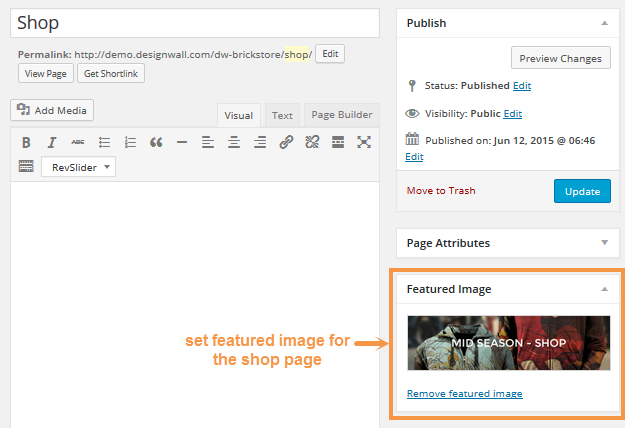
3. Set Featured image for the Shop page
DW Brickstore offers to show the featured image for the shop page by uploading a featured image. Please follow these steps:
Step 1 Navigate to Pages >> Shop ( Any page you would you like to show the default shop page)
Step 2 Set Featured image by clicking on ” Set featured image” link from the right side.