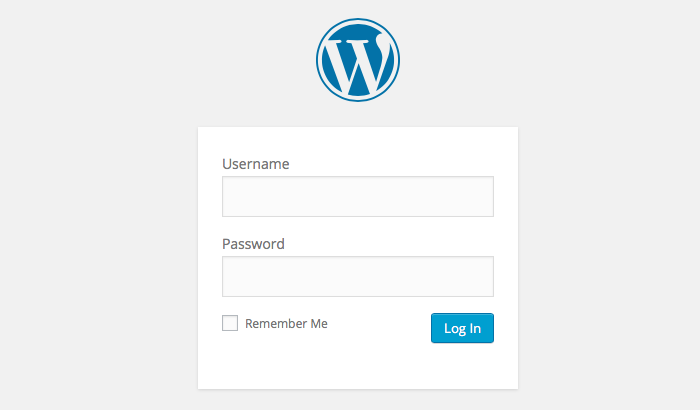
- Log into your WordPress blog admin area:
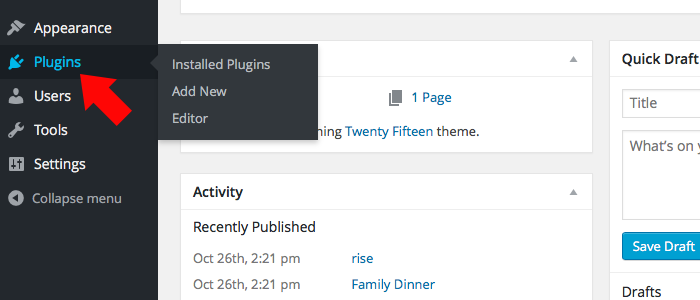
- Once logged in, click on “Plugins” at the left hand menu (If you don’t have a “Plugins” option you will have to ask a blog administrator to do this and the following steps):
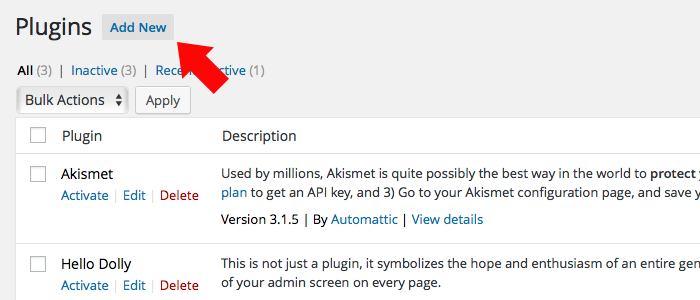
- Click on “Add New” button at the top middle of the page:
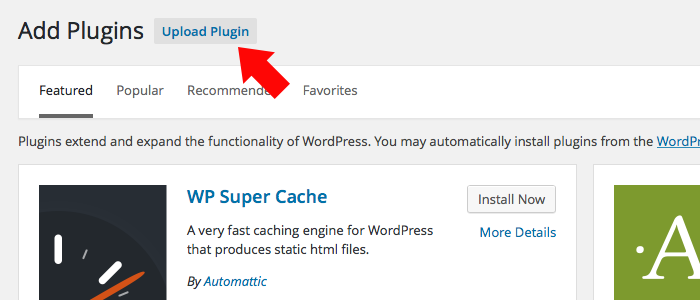
- Click on “Upload Plugin” button next to “Add Plugins”:
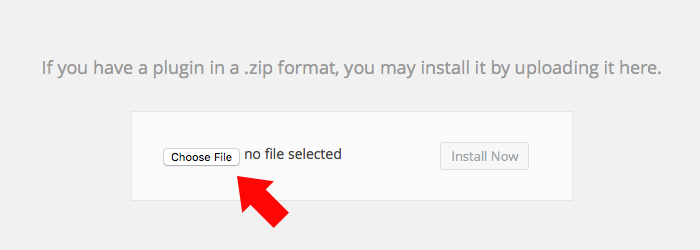
- On the next page you will be asked to “Choose File” – Click on this button and select the DW-autoblogging.zip you have downloaded from CodeCanyon, once you have selected the file,Click “Install Now”:
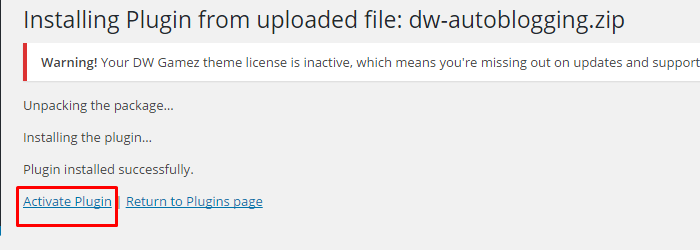
- After finishing the install,click on “Activate Plugin”: